


In this post, we'll use next-auth to build an authentication system that allows our users to log in to our app using their Discord account.
I've created a repo with the code from this article at github/with-heart/nextjs-discord-auth-example.
Be sure to read Storing and accessing Discord application environment variables with Next.js first as you'll need the client id and secret from a real Discord app for this to work.
What is next-auth?
next-auth is an open source authentication solution for Next.js apps that provides a significant amount of power while requiring relatively little from us to make it work.
At a high level, next-auth provides tools for automatically handling the hard parts of authentication (OAuth flow, callback, auth endpoints, etc.) so we can focus on building.
next-auth also supports many different authentication services for users to choose from, though in this post we'll only be adding authentication for Discord.
Adding authentication routes with next-auth
Installing next-auth
Our first step is to install the next-auth package:
pnpm i next-auth
Adding a catch all api route for auth
After that, we need to create a catch all API route which will allow next-auth to handle all requests to /api/auth/*.
Create pages/api/auth/[…nextauth].ts and add this code:
import NextAuth from 'next-auth'
import DiscordProvider from 'next-auth/providers/discord'

// https://discord.com/developers/docs/topics/oauth2#shared-resources-oauth2-scopes
const scopes = ['identify'].join(' ')

export default NextAuth({
  providers: [
    DiscordProvider({
      clientId: process.env.DISCORD_CLIENT_ID,
      clientSecret: process.env.DISCORD_CLIENT_SECRET,
      authorization: {params: {scope: scopes}},
    }),
  ],
})
In this example, we configured NextAuth to use DiscordProvider. DiscordProvider is what tells next-auth to generate routes specifically for Discord and how to communicate with Discord's auth system.
We configured our DiscoverProvider to connect to Discord as our app by providing it with the app's client environment variables, and we set authorization.params.scope to tell Discord which scopes we're using.
A quick note about scopes
Scopes are Discord's way of providing granular access to a user's data. Rather than having access to all user data by default, we have to use scopes to request the various pieces of user data that we need access to.
In this example, we're using the identify scope which gives us access to only the most basic information about a user like id, name, and image (though not email). See the official Discord docs on OAuth2 Scopes for a full list of scopes and the data each provides.
Providing access to the current user session in React
In order for the React side of our app to access the current user session, we need to wrap our page components in SessionProvider. next-auth automatically injects the current session in our App component's pageProps and we'll pass that to SessionProvider.
In pages/_app.tsx:
import {SessionProvider} from 'next-auth/react'
import type {AppProps} from 'next/app'

function MyApp({Component, pageProps: {session, ...pageProps}}: AppProps) {
  return (
    <SessionProvider session={session}>
      <Component {...pageProps} />
    </SessionProvider>
  )
}

export default MyApp
Configuring our Discord app to redirect to our app
Now that we've configured our Next.js app to support Discord authentication, we need to configure Discord In order for Discord authentication to work, it needs to know where to redirect users to after they authenticate their account.
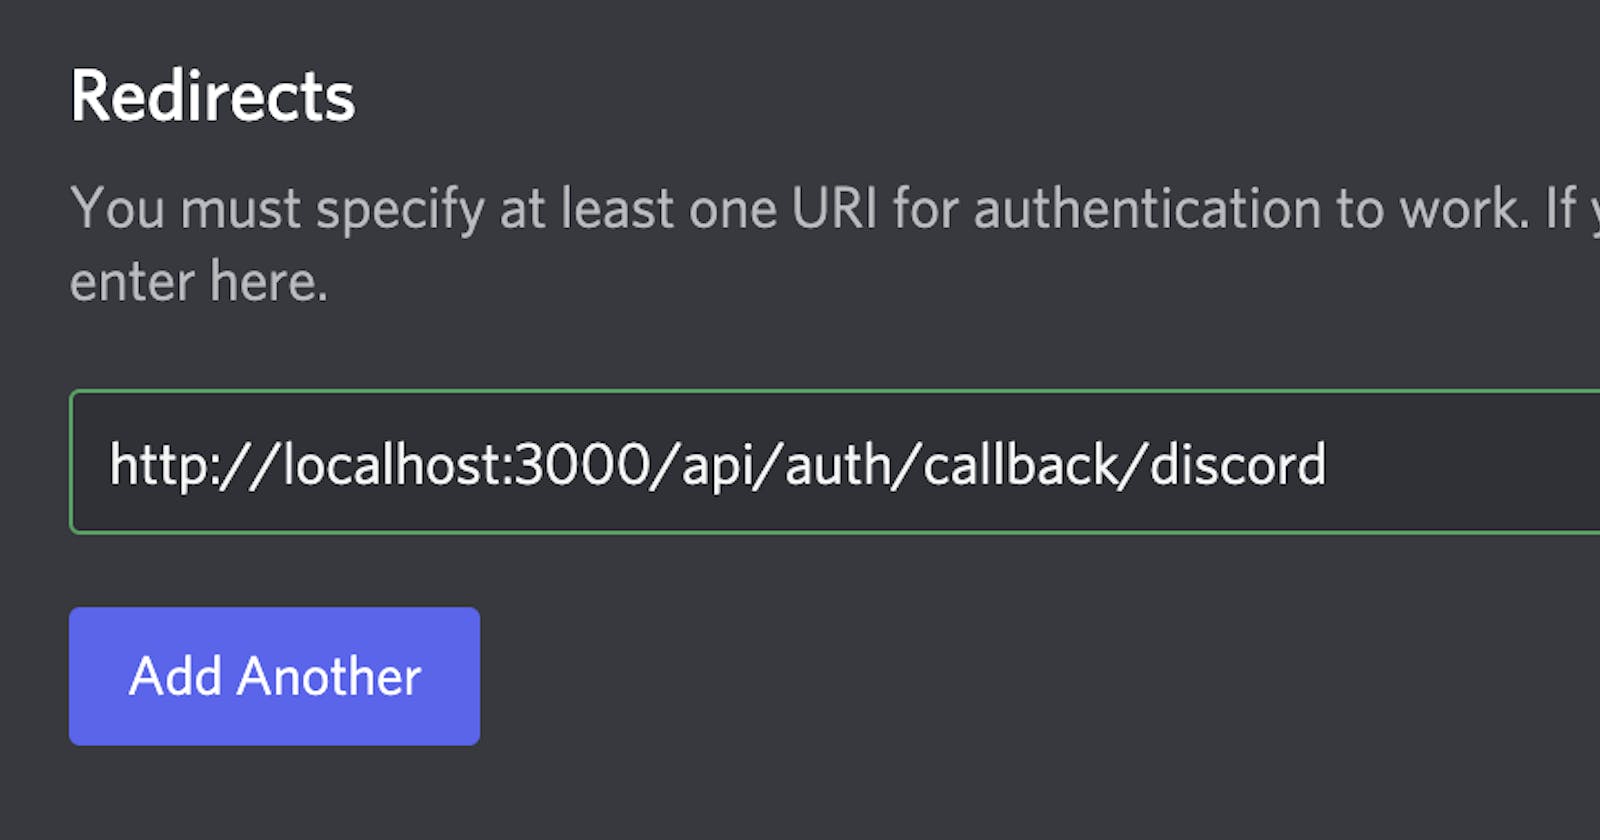
To configure this, visit your "My Applications" page and go the "OAuth2" page from the sidebar.
On that page, you'll see an input under the "Redirects" heading. We'll add the URL for the Discord auth callback endpoint generated by next-auth: http://localhost:3000/api/auth/callback/discord
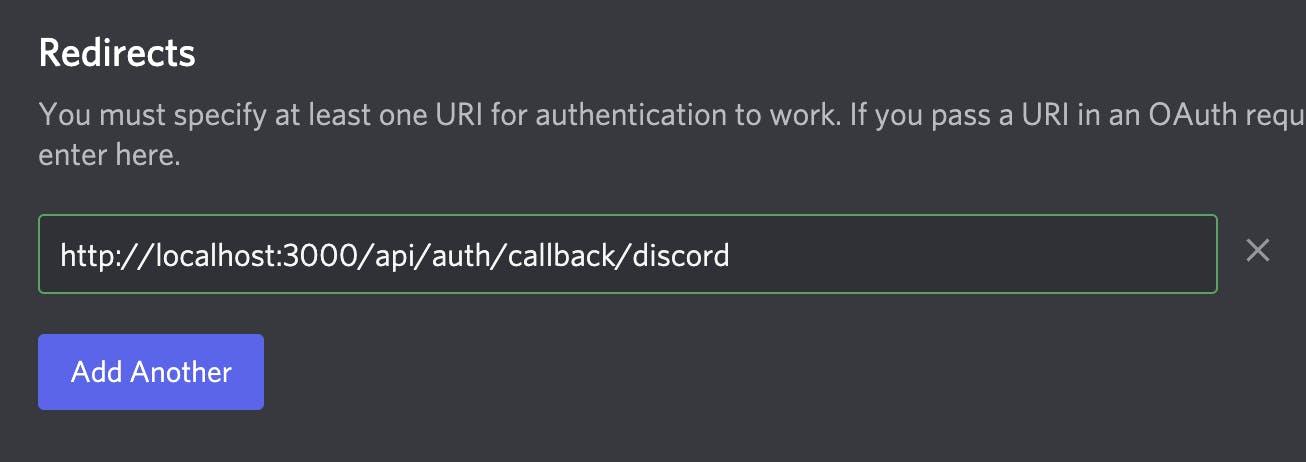
Be sure to click "Save Changes" before moving on!
Using signIn to authenticate with our Discord app
Now that we configured next-auth to use our Discord app and configured our Discord app to send users back to our app after authentication, we're ready for users to actually authenticate! Cool!
Let's replace the contents of pages/index.tsx with this:
import type {NextPage} from 'next'
import {signIn, signOut, useSession} from 'next-auth/react'
const Home: NextPage = () => {
const {data: session} = useSession()
if (session) {
return (
<>
You're signed in! Congratulations! <br />
<button onClick={() => signOut()}>Sign out</button>
</>
)
}
return (
<>
Not signed in <br />
<button onClick={() => signIn('discord')}>Sign in</button>
</>
)
}
export default Home
On this page, we'll either see:
- "Not signed in" with a "Sign in" button
- "You're signed in! Congratulations!" with a "Sign out" button
Since we wrapped our app in SessionProvider, signIn, signOut, and useSession all have access to the current user's session!
One thing to note is that we passed the 'discord' string to signIn. Since next-auth allows us to configure multiple auth services that the user could choose from, calling signIn without arguments would take us to a page with "Sign in" buttons for each service.
Here's what that page looks like with only the Discord button on it:
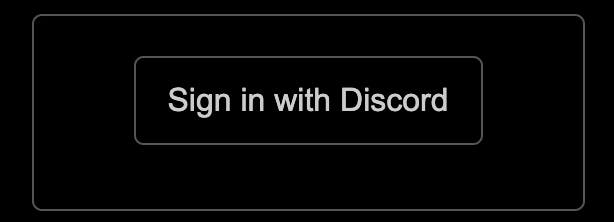
Since we're only using Discord in our app, we can pass its string identifier to signIn so that it skips that page and redirects us directly to the Discord auth page instead.
Accessing auth session data in our app
Another benefit we get from next-auth is that, if the auth service has provided user data, we'll automatically have access to each user's name and avatar.
Let's display both on our page when the user is logged in so they feel special!
Update the logged in section of our Home component:
  if (session) {
    const {user} = session

    return (
      <>
        {user?.image && (
          <Image
            src={user.image}
            alt=""
            width={38}
            height={38}
            style={{borderRadius: '50%'}}
          />
        )}
        Hello, {user?.name}!<br />
        <button onClick={() => signOut()}>Sign out</button>
      </>
    )
  }
Now when a user is signed in, it displays their information!